I’ve been exploring the idea of starting a static blog for a while now. After experimenting with Jekyll, 11ty, and Astro, I’ve decided that Astro is the best fit for my needs. Its ease of deployment and the variety of pre-made themes available right out of the box make it the perfect choice for getting started quickly and efficiently. Hopefully some of my tips below are helpful.
Table of contents
Open Table of contents
Installing Astro
I’ll assume you already have Node.js installed and are using a code editor like VS Code that’s set up and ready to go.
Installing Node.js
This is taken directly from the Node.js website. Node.js Installation.
# installs nvm (Node Version Manager)
curl -o- https://raw.githubusercontent.com/nvm-sh/nvm/v0.40.0/install.sh | bash
# download and install Node.js (you may need to restart the terminal)
nvm install 22
# verifies the right Node.js version is in the environment
node -v # should print `v22.11.0`
# verifies the right npm version is in the environment
npm -v # should print `10.9.0`
Installing Astro
With Node.js installed, let’s move on to a quick and straightforward Astro installation. Astro.build.
npm create astro@latest
After running the create command, Astro’s wizard will prompt you to name the folder for your new project. You’ll then be given options to include sample files, use a blog template, or start with an empty project. For this exercise, select the “Use a blog template” option. Stick with the defaults for everything, except for “Initialize a new Git repository.” Chose No to the Git option for now.
Now, let’s start the Astro development server. Begin by navigating to your new project’s directory. If you selected the “Install dependencies” option earlier, you don’t need to run the npm install command again—but there’s no harm in running it to double-check. Next, use the command npm run dev to start the server. If everything is set up correctly, you’ll see a message displaying the URL and port number for your development server, which is typically http://localhost:4321.
cd orbital-axis
npm install
npm run dev
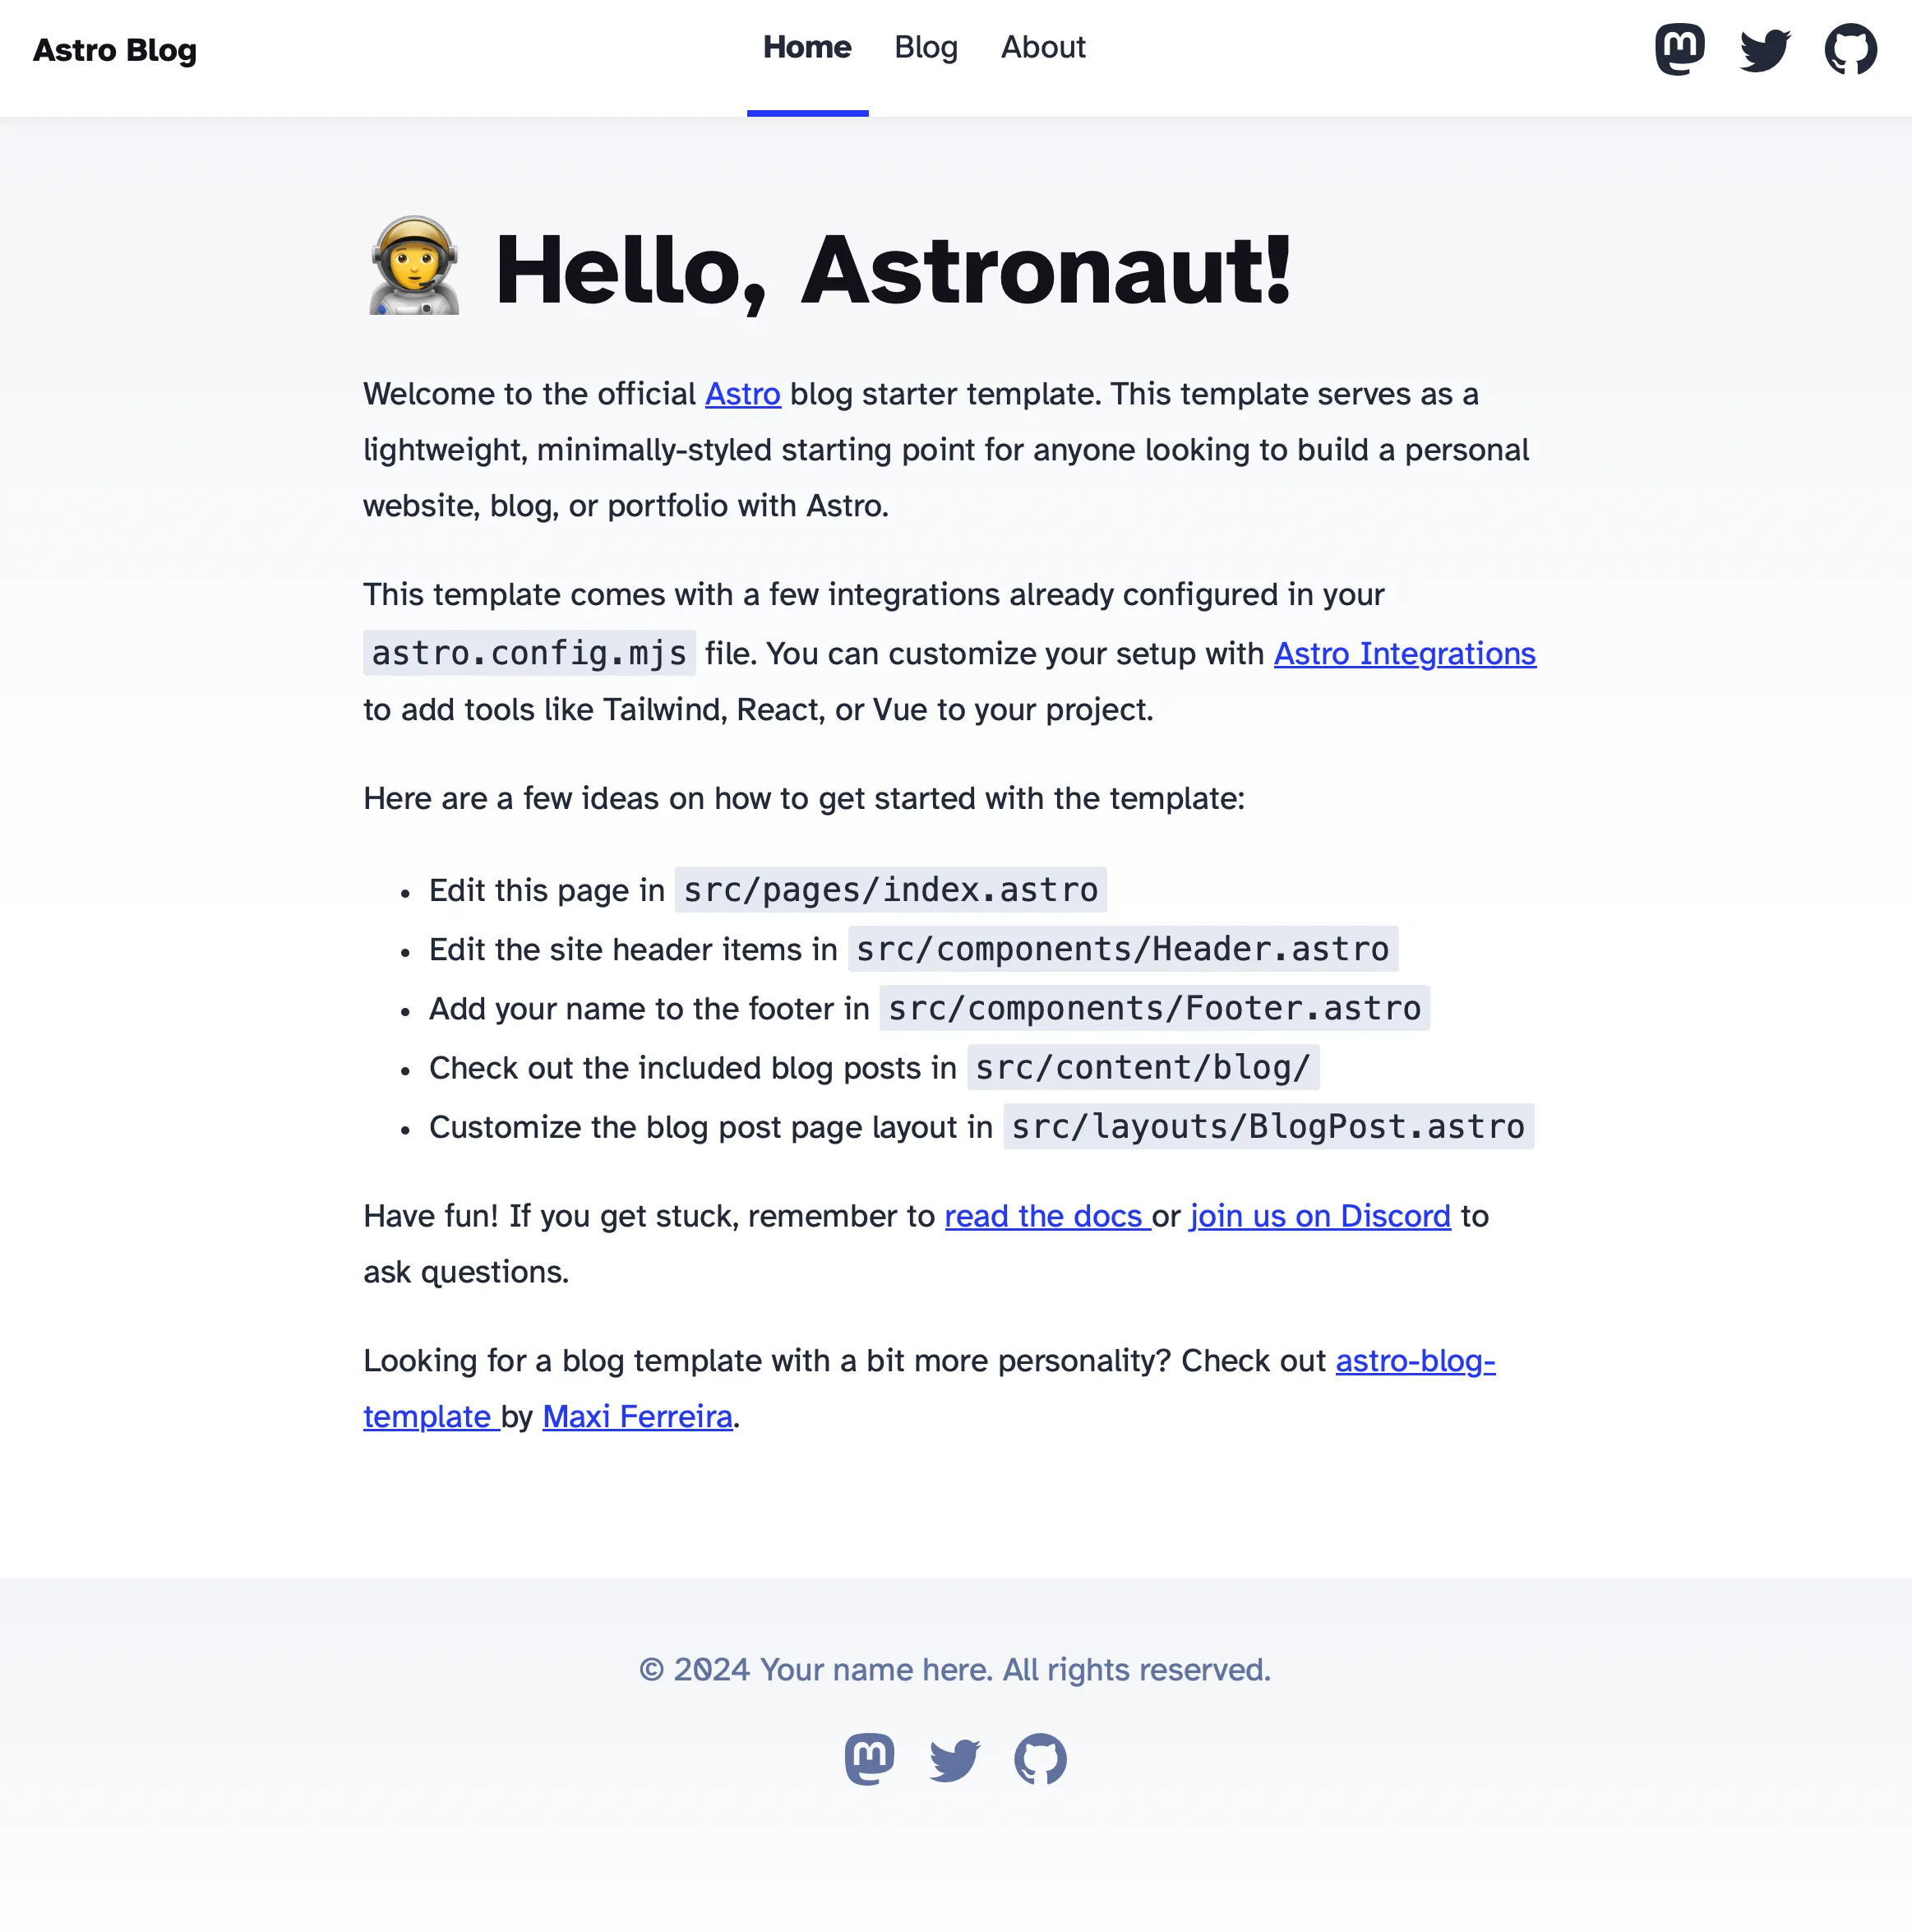
Success
If everything went well you should get something like the image below.
In future posts, I’ll cover the setup of the theme and Astro site I’m using, as well as how to publish the site to GitHub and Netlify.