I’ve been searching for the perfect out-of-the-box template for Astro to hit the ground running with my blog. The best one I’ve found in my searching is Astropaper. I’ll include links to the official GitHub repository and provide an easy tutorial to help you get the site up and running.
Table of contents
Open Table of contents
Installing Astropaper
As long as you followed my prior post you should have a new version of Node.js installed. In that case you just need to run the command below and choose the location for the project. This time chose the defaults for all questions including the Git repository. In another post, I’m going to go over how to get the site working with GitHub and hosted on Netlify.
npm create astro@latest -- --template satnaing/astro-paper
Navigate into the directory you created using cd, then run npm install. In my installation, I noticed some vulnerabilities in the required libraries. To resolve these, I ran npm audit fix, followed by npm run dev.
cd dark-dwarf
npm install
npm audit fix
npm run dev
Adding Content and customizations
One of the best parts of Astropaper is that satnaing included the documentation in his sample posts. Basically, all instructions to using Astropaper is in the sample content so I’m not really going over that in my post.
Performance
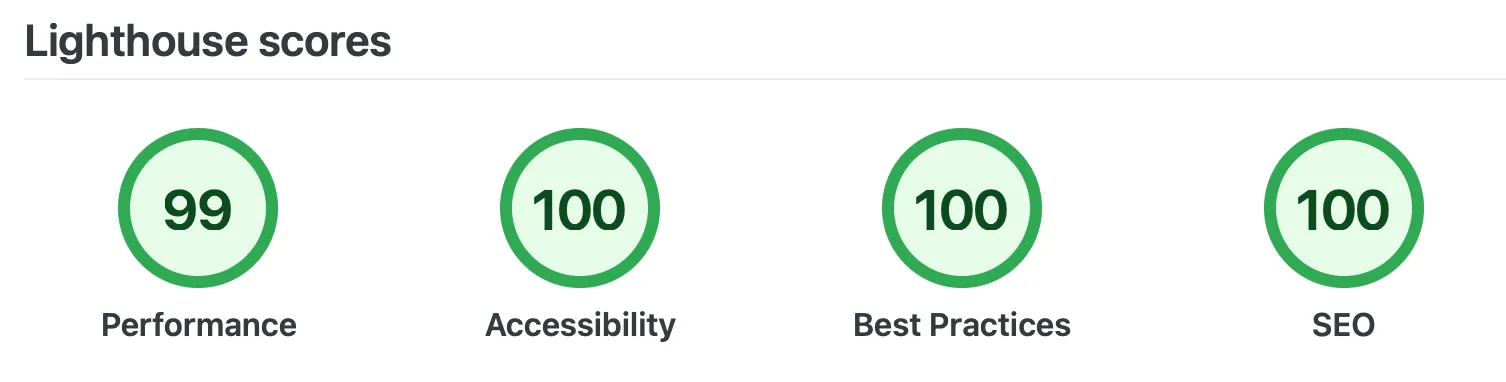
One of the best aspects of using a static site framework is its speed and reliability. I’ve been experimenting with Astropaper for a few weeks, and I consistently achieve Lighthouse scores of 99% or higher.
Reference
Astropaper official GitHub repository: https://github.com/satnaing/astro-paper